Posted: Mon Jan 27, 2014 3:18 pm Post subject: How to edit a photo like this...
I know how to do the skin effect (somewhat), but does anyone know how to do the background and add the other pictures, as seen if you go to the link below?
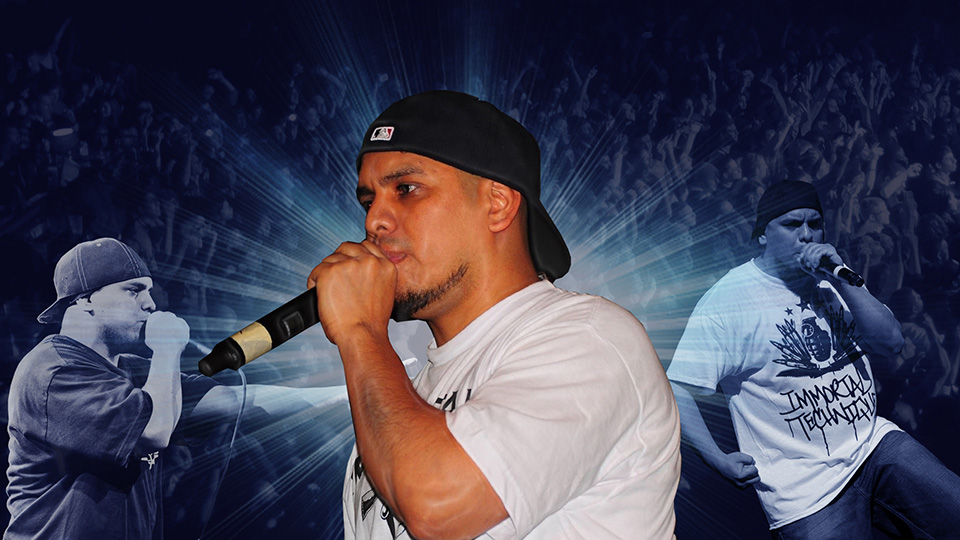
bout as close as i can get it. i can't figure out how get that glossy, airbrushed look on the center photo. photos are of "immortal technique" found with google image search. the background stuff was fairly simple. combined pics of him over the crowd photo with a flare that i also found on the image search And lifted it from a black back ground using color rage select tool. after i got everything placed where i wanted it, i collapsed the layers containing the flare, crowd and the two background photos of Tech into one layer so i could adjust the color balance hue and saturation to match the photo you provided. i'm sure there are people here that can do a much better job of replicating that design and explaining it a lot better. i have a feeling i do things the hard way.
immortaltech2.jpg
Description:
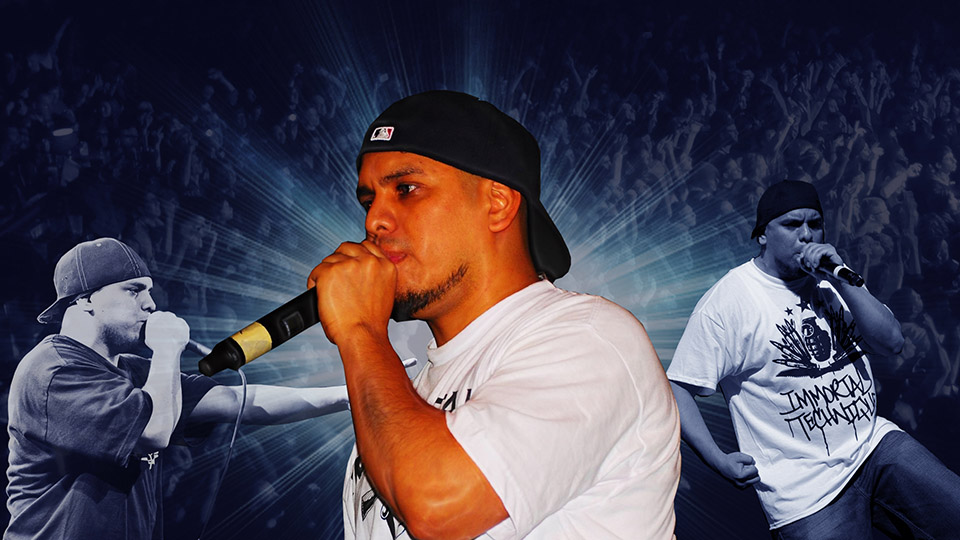
slight adjustment, put the flare layer in front of background pics of Tech
Joined: 27 Nov 2012
Posts: 329
Location: The Netherlands PS Version: CS6 OS: Windows 8
Posted: Tue Jan 28, 2014 3:19 pm Post subject:
It's surprisingly easy to do stuff like Beyond the Buzzer's effect if you'd pick up Topaz Adjust 5.
Hit duplicate layer a few times and get some different, high detail, grungy effects on there using the plugin. Play around with the opacity and blending modes of various layers, mask and blend parts you need and don't need and you'll create an effect like this that you could even call your own.
There is however a DRAWBACK to this. You will need to have good stock photography to pull this off. So if you're planning on doing this on just random JPEGs you'll pull of the internet, I'm going to say in advance, the result won't be good as all the noise and artifacts of JPEGs and other suppressed formats will be enlarged and become more clear when pulling filters and modifiers like these in the mix. Best is to shoot yourself, preferably in RAW or either get some RAW stock photo's of the internet. _________________ Bart J.A.H. de Brouwer
Joined: 05 Mar 2003
Posts: 3987
Location: Cheltenham, UK
Posted: Tue Jan 28, 2014 3:45 pm Post subject:
I don't use or really know much of anything about Instagram, but it looks like a Topaz filter, not sure of which one, maybe detail, maybe something else, maybe neither. _________________ If life serves you lemons, make lemonade!
Posted: Tue Jan 28, 2014 6:43 pm Post subject: Thanks
Thanks Rarity. I already have all of the Topaz add-ons, and I think I have the skin effect down, but what I really need help is with the colorizing of the background, and adding additional photos to the background. If you look at beyond the buzzer's page, you will see that a lot. I also watch your youtube vids a lot, so a video tutorial would be helpful. Also, do you have any idea where they get their photos from, as that would be truly helpful.
Thanks again,
Omar
P.S. I'm a bit of a Photoshop noob, so any help is appreciated, but video tutorials would be amazing.
Joined: 27 Nov 2012
Posts: 329
Location: The Netherlands PS Version: CS6 OS: Windows 8
Posted: Wed Jan 29, 2014 10:41 am Post subject: Re: Thanks
omar24631 wrote:
Thanks Rarity. I already have all of the Topaz add-ons, and I think I have the skin effect down, but what I really need help is with the colorizing of the background, and adding additional photos to the background. If you look at beyond the buzzer's page, you will see that a lot. I also watch your youtube vids a lot, so a video tutorial would be helpful. Also, do you have any idea where they get their photos from, as that would be truly helpful.
Thanks again,
Omar
P.S. I'm a bit of a Photoshop noob, so any help is appreciated, but video tutorials would be amazing.
I'll see if I can get one done tonight.
Edit: Can't get one done tonight. Will do it tomorrow, which means it'll be rendered and uploaded somewhere on Thursday. But just cause it isn't that hard
First step is getting your background the way you want it. Make sure all images are in place, still the 'technique' used can be transfered over and will effect layers below.
Click the half filled circle on the bottom of your layers panel. Create a black and white adjustment layer.
Click the circle again, fill it with a random colour, let's say a blue'ish and put it to 'Overlay' to start with.
Click the thumbnail of the B&W layer and play with the sliders, here's where you decide what needs to be darker and lighter.
Switch back to the solid colour layer, play around with the blendmodes Overlay, Softlight and Highlight (Vivid, Pin etc can as well work out) and different opacities.
Basically play with sliders untill you like what you see _________________ Bart J.A.H. de Brouwer
You cannot post new topics in this forum You cannot reply to topics in this forum You cannot edit your posts in this forum You cannot delete your posts in this forum You cannot vote in polls in this forum You cannot attach files in this forum You can download files in this forum