|
|
| Author |
Message |
tgoviper
Joined: 13 Feb 2005
Posts: 2
|
 Posted: Sun Feb 13, 2005 11:51 am Post subject: Need help restoring some color to old photo Posted: Sun Feb 13, 2005 11:51 am Post subject: Need help restoring some color to old photo |
 |
|
Hello PhotoShop gurus,
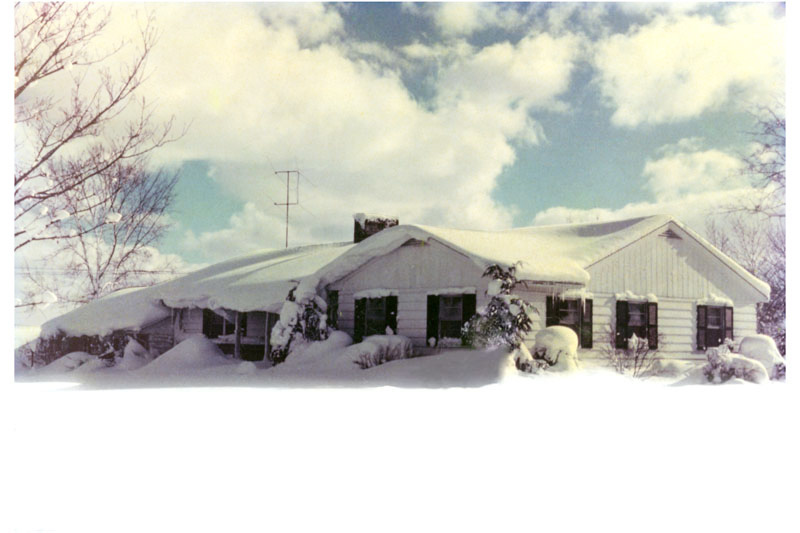
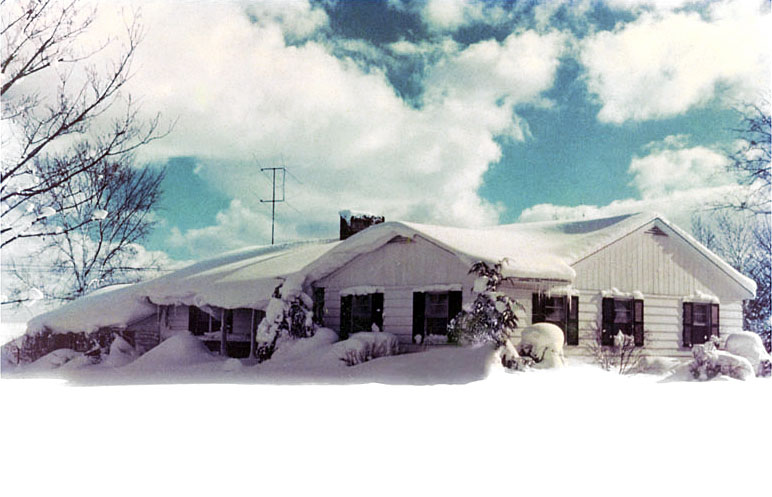
I'm restoring an old color (barely) photo for a friend
and it's a landscape shot but the sky (blue) has become
dull and the clouds aren't as white as they should be.
Is there anyway to adjust the colors individually
so I can tweak it until it's just right?
I'd like to make it more vivid.
I've tried using brightness/contrast etc... but
the rest of the picture is fine. I just want to change
the blue of the sky and adjust the clouds.
Any help would be greatly appreciated.
Thank you!
- EDIT - attached pic in question
| Description: |
| Here's the pic I'm working on |
|
| Filesize: |
90.56 KB |
| Viewed: |
2328 Time(s) |
|
|
|
|
|
|
 |
FadedinPS23

Joined: 27 Dec 2004
Posts: 183
|
| Posted: Sun Feb 13, 2005 1:52 pm Post subject: |
|
|
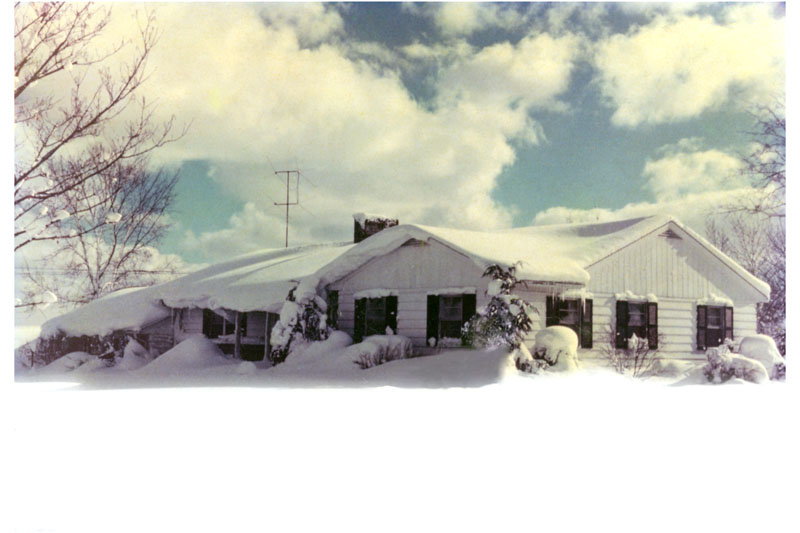
Like this?
| Description: |
|
| Filesize: |
64.11 KB |
| Viewed: |
2322 Time(s) |
|
|
|
|
|
|
|
tgoviper
Joined: 13 Feb 2005
Posts: 2
|
| Posted: Sun Feb 13, 2005 2:56 pm Post subject: |
|
|
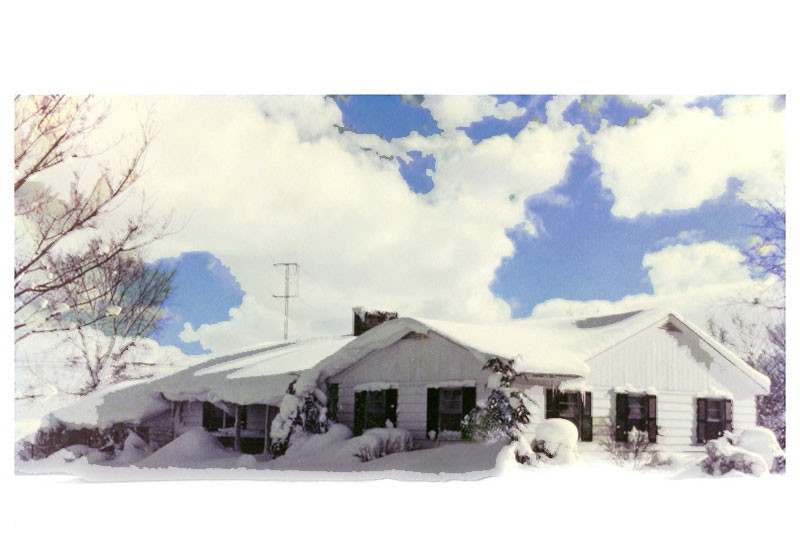
something like that.
Definately not bad.
The edges between the clouds and sky are a bit sharp
in the image you posted, but it's on the right track.
|
|
|
|
|
|
witam
Joined: 27 Oct 2004
Posts: 812
Location: Belgium
|
| Posted: Sun Feb 13, 2005 3:20 pm Post subject: how about? |
|
|
|
|
|
|
|
|
TiDaL

Joined: 12 Apr 2003
Posts: 384
|
| Posted: Sun Feb 13, 2005 4:36 pm Post subject: |
|
|
I decided to play around with it also...
Here's mine
| Description: |
|
| Filesize: |
107.44 KB |
| Viewed: |
2310 Time(s) |
|
_________________
http://i337m1k3.deviantart.com for my ART Profile. |
|
|
|
|
|
witam
Joined: 27 Oct 2004
Posts: 812
Location: Belgium
|
| Posted: Sun Feb 13, 2005 4:48 pm Post subject: |
|
|
|
|
|
|
|
|
BryanDowning

Joined: 05 Jul 2004
Posts: 1554
Location: California, USA
|
| Posted: Mon Feb 14, 2005 1:32 am Post subject: |
|
|
I'd use Image -> Adjustments -> Color Balance to take most of the yellow out, which will in turn add more blue as well.
_________________
Best Regards,
Bryan Downing
bryandowning.com |
|
|
|
|
|
gbf1lm
Joined: 07 Feb 2005
Posts: 50
|
| Posted: Mon Feb 14, 2005 1:32 pm Post subject: |
|
|
if you only want to adjust part of the picture. hit crtl-J to copy teh layer do the effects on the top layer. create a vector mask (layers>>vector mask>>>reveal all. on that layer. and on the mask, using a fuzzy brush, paint the parts you want to be form the bacground layer. using the opacity of this layer, adjust the strength of your effects.
|
|
|
|
|
|
thehermit
Joined: 05 Mar 2003
Posts: 3987
Location: Cheltenham, UK
|
| Posted: Mon Feb 14, 2005 8:36 pm Post subject: |
|
|
Find the black and the white point through threshold adjustmnet layer mark them with the colour sampler tool and then discard adj layer. Create another adjustment layer but this time make it a levels or a curves adjustment, find the 2 markers on the canvas and using the black and white eyedropper click on the markers.
That will sort out any colour shift in this photo. I should clarify that you should remove or ignore all whiteout on the photo and only correct the good information.
Obviously using Photoshops built in auto correction features can be a handy a time saving shortcut, but sometimes other ways also pay, when obvious answers don't alway come out as expected.
|
|
|
|
|
|
jj1987
Joined: 05 Mar 2005
Posts: 4
|
| Posted: Sat Mar 05, 2005 8:11 pm Post subject: |
|
|

That work 
|
|
|
|
|
|
|