|
|
| Author |
Message |
sean1ucc
Joined: 14 Jan 2010
Posts: 7
Location: Cork, Ireland
|
 Posted: Thu Jan 14, 2010 11:15 am Post subject: Trying to do this! Posted: Thu Jan 14, 2010 11:15 am Post subject: Trying to do this! |
 |
|
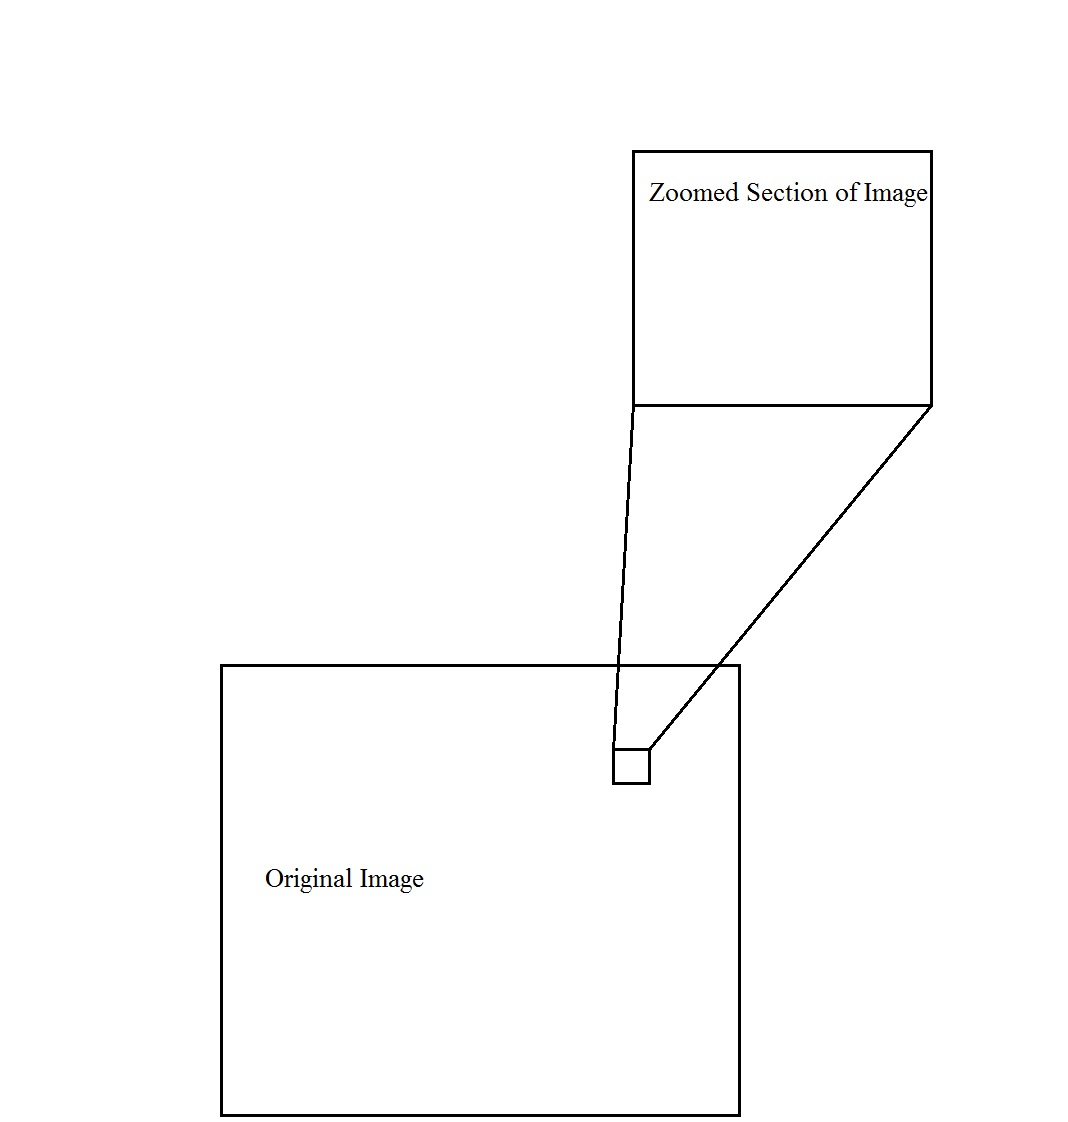
Hi attached is a rough representation of what I am trying to do, not sure what the technical term for it is but if anyone could help me it would be much appreciated. Have both photo's taken they are microscopy images of brain sections the original at x4 the other at x20.
Sean
| Description: |
|
| Filesize: |
46.6 KB |
| Viewed: |
205 Time(s) |

|
|
|
|
|
|
 |
darklite
Joined: 19 Dec 2009
Posts: 277
Location: Oregon, U.S.
PS Version: cs
OS: windows 7
|
 Posted: Thu Jan 14, 2010 1:50 pm Post subject: Posted: Thu Jan 14, 2010 1:50 pm Post subject: |
 |
|
Are you wanting to know how to recreate this layout-ie, the lines and shapes, or actually do an enlarged section of an image from the original in these shapes?
_________________
Jeff
http://www.autumnwindstudios.com |
|
|
|
|
 |
sean1ucc
Joined: 14 Jan 2010
Posts: 7
Location: Cork, Ireland
|
 Posted: Thu Jan 14, 2010 2:16 pm Post subject: Posted: Thu Jan 14, 2010 2:16 pm Post subject: |
 |
|
The design is what I am looking to recreate as I have two images one of an entire section and the second the specific area of interest that has been taken at a higher magnification
|
|
|
|
|
 |
darklite
Joined: 19 Dec 2009
Posts: 277
Location: Oregon, U.S.
PS Version: cs
OS: windows 7
|
 Posted: Thu Jan 14, 2010 2:56 pm Post subject: Posted: Thu Jan 14, 2010 2:56 pm Post subject: |
 |
|
Okay, that's easy enough.
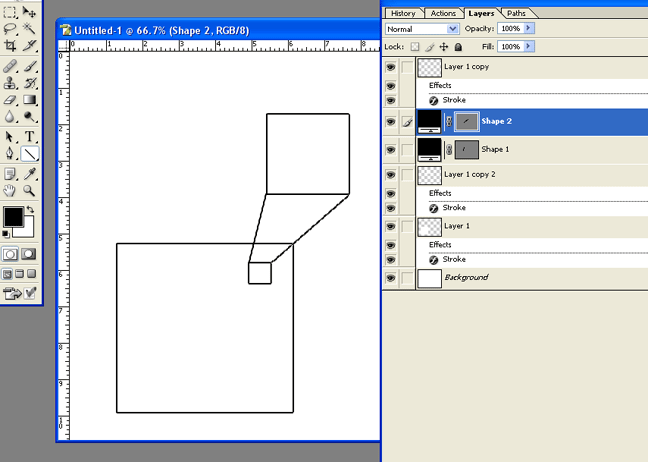
I just made a layer of a white box, then added a black stroke from 'layer styles'.
I then copied this layer, scaled it down small to be the small white box inside the larger one.
I copied the original layer yet again, scaled it down smaller to be the white box above.
After that, I just used the line tool and drew 2 instersecting lines to join the smaller thumbnail box.
Hope that answers it.
[img][/img]
| Description: |
|
| Filesize: |
38.37 KB |
| Viewed: |
185 Time(s) |

|
_________________
Jeff
http://www.autumnwindstudios.com |
|
|
|
|
 |
sean1ucc
Joined: 14 Jan 2010
Posts: 7
Location: Cork, Ireland
|
 Posted: Thu Jan 14, 2010 4:08 pm Post subject: Posted: Thu Jan 14, 2010 4:08 pm Post subject: |
 |
|
Thanks that should the trick unless you could think of another way or a tidier format as it is going into a scientific journal want it look as tidy as possible
|
|
|
|
|
 |
darklite
Joined: 19 Dec 2009
Posts: 277
Location: Oregon, U.S.
PS Version: cs
OS: windows 7
|
 Posted: Thu Jan 14, 2010 4:16 pm Post subject: Posted: Thu Jan 14, 2010 4:16 pm Post subject: |
 |
|
|
|
|
|
|
 |
sean1ucc
Joined: 14 Jan 2010
Posts: 7
Location: Cork, Ireland
|
 Posted: Thu Jan 14, 2010 4:59 pm Post subject: Posted: Thu Jan 14, 2010 4:59 pm Post subject: |
 |
|
Yes we do! How would I go about it with illustrator?
|
|
|
|
|
 |
darklite
Joined: 19 Dec 2009
Posts: 277
Location: Oregon, U.S.
PS Version: cs
OS: windows 7
|
 Posted: Thu Jan 14, 2010 5:26 pm Post subject: Posted: Thu Jan 14, 2010 5:26 pm Post subject: |
 |
|
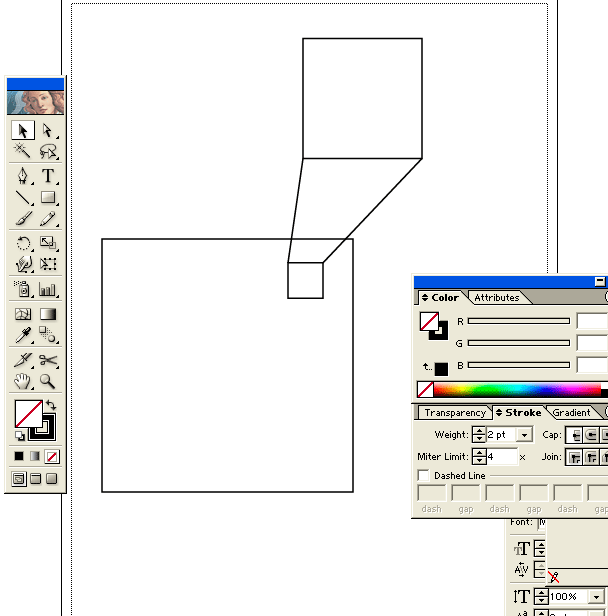
You can do the boxes the same way in Illustrator. The only difference is that it's a vector program which makes it much easier and cleaner. Just draw the box and apply a stroke to it. In my screenshot I show the color palette with the stroke options.
In Illustrator, stroke sizes change whenever you re-size anything, so once you get done positioning the boxes and lines, go back and select each element (or select all if you have no type), then re-set the stroke to whichever size you want. I used "2".
In my example, I didn't fill the boxes with white since I was using a white bkg.
[/img]
| Description: |
|
| Filesize: |
23.27 KB |
| Viewed: |
169 Time(s) |

|
_________________
Jeff
http://www.autumnwindstudios.com |
|
|
|
|
 |
sean1ucc
Joined: 14 Jan 2010
Posts: 7
Location: Cork, Ireland
|
 Posted: Thu Jan 14, 2010 6:11 pm Post subject: Posted: Thu Jan 14, 2010 6:11 pm Post subject: |
 |
|
Cheers I will give that a go tomorrow thanks for the help
|
|
|
|
|
 |
sean1ucc
Joined: 14 Jan 2010
Posts: 7
Location: Cork, Ireland
|
 Posted: Fri Jan 15, 2010 4:12 am Post subject: Posted: Fri Jan 15, 2010 4:12 am Post subject: |
 |
|
While we are on this topic could you tell me how I would go about actually zooming in on a section and cutting it out to make the inset, they are being taken at 2776x2074 and being saved as .tif so should have the resolution to do so. Looking to achieve the same format as above but would be a more accurate representation if I could do it from the one photo.
|
|
|
|
|
 |
|


